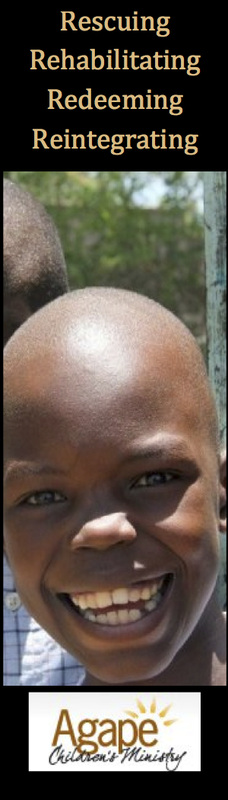
As some of you know, I started going out on the streets of Kisumu with Abel (a member of Agape's outreach team) and Steve (my bro), so I could get some footage for various reasons. We've been out a couple times in the past week, both in the early and late morning hours, to interact with the street boys.

Though filming at 5:45AM was a new experience for me, it was pretty fun! I've compiled some of the footage shot on the occasions I traversed the streets of Kisumu, Kenya.

The boys in the video are street boys; homeless, without food, cold, fearful, and in pain. Often they will resort to sniffing toxic glue in order to dull their senses and feel safe. It was a new experience to see them as they slept under bags on cement, wood, or whatever else they could find; and I'm looking forward to being with them again as they start their mornings on the streets.

The Street Boys of Kisumu from Creative Studios on Vimeo.

Footage showing the plight of boys living on the streets of Kisumu, Kenya.

Shot anytime between 5:30AM to 11:AM.
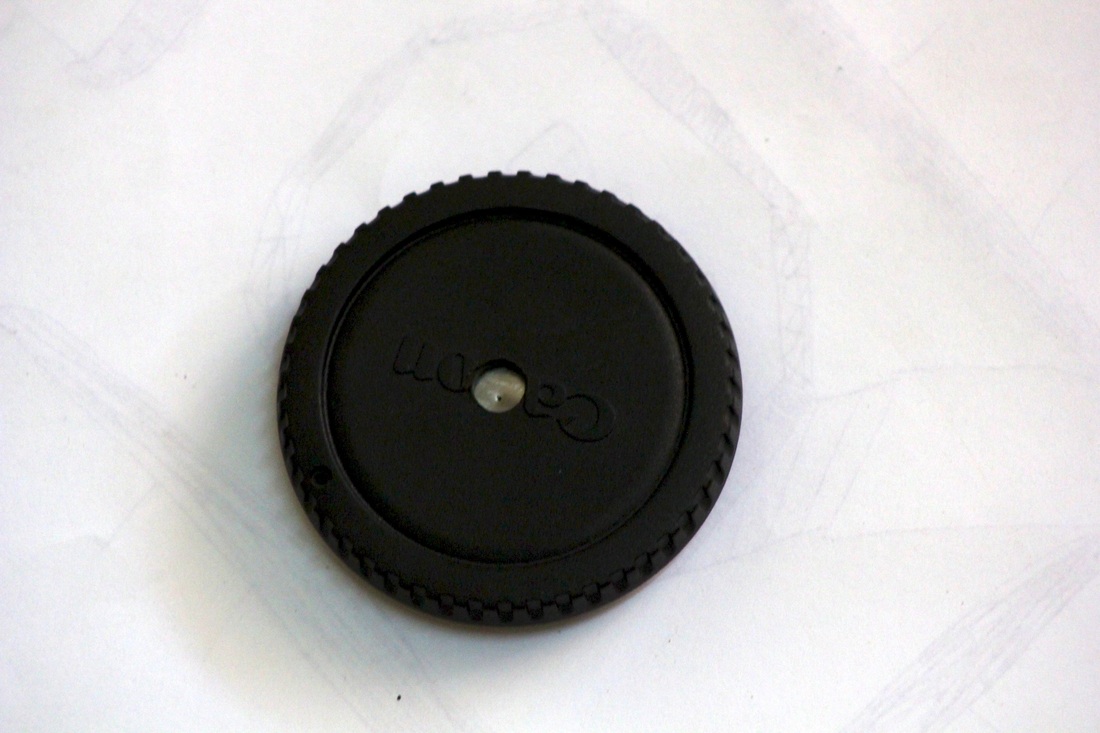
Equipment used:
Canon T2i with Magic Lantern

In Christ, 
Nick, the Towheaded Rambler
 
The other day I was a bit bored, so I decided that I'd try and build a pinhole lens for my Canon T2i. 
If you don't care about stuff like this, skip to the bottom, otherwise here is a summary of what I did. 

First of all, you'll need the following:

A needle (the thinner the better) 
A pencil with an eraser (optional, but it sure makes it easier to make the hole)
Thin metal (aluminum foil, brass sheet, etc. The thinner the better!)
A spare camera body cap
A drill
Some very fine sandpaper
A vise (also optional, but it will make drilling the hole in the cap easier)
And tape (to attach the metal to the camera body cap)
Picture
The needle/pencil combo, much easier to use.
Picture
I ended up using the bottom of a Pringle's can as thinner metals were not available.
The process is fairly simple, but a bit time consuming. 
  1. Cut a small piece of metal out of whatever material you are using.
  2. Taking the pencil and /or needle, carefully poke a dent in the metal, you don't want it to go all the way through.
  3. Sand the very tip of the dent off. The goal is to make as small a hole as possible. 


And that finishes the lens! Now for the mount.

  1. Take your camera body cap and tighten it in the vise.
  2. Drill a hole in the center of the cap. The size doesn't matter all that much, just make sure it's quite a bit bigger then the pinhole.
  3. Sand off the rough edges if there are any.


Finally, combine the two pieces by taping the pinhole piece inside of the camera cap.
And that's the finished product!

Below is a photo with the lens, without any editing or anything. 
Of course it needs a bit of touchup work, and maybe a couple settings tweaked. But overall it's fun to play around with!

_______________

Now the part completely unrelated to the lens, or even photography for that matter. 

If you are particularly observant, you may have noticed a new page of my blog up top called "The Bookshelf". Basically it's a spot for me to put books I've read recently, and what I thought about them! I don't know how often I'll update this, but I'll try and update it a couple times a month depending on how many books I can find in Kenya!

Hope you all have great weeks!
Nick, the Towheaded Rambler
 
I'm sure many of you have heard of an Organization called "I Am Second". It's quite an incredible organization where they have different people such as Lecrae, Jason Castro, Michael W. Smith, Brian Welch, Bethany Hamilton, and others, all telling the stories of their conversions and tribulations they have faced along the Christian path. In addition to being a great site to hear testimonies, the premise of their site is amazingly simple.